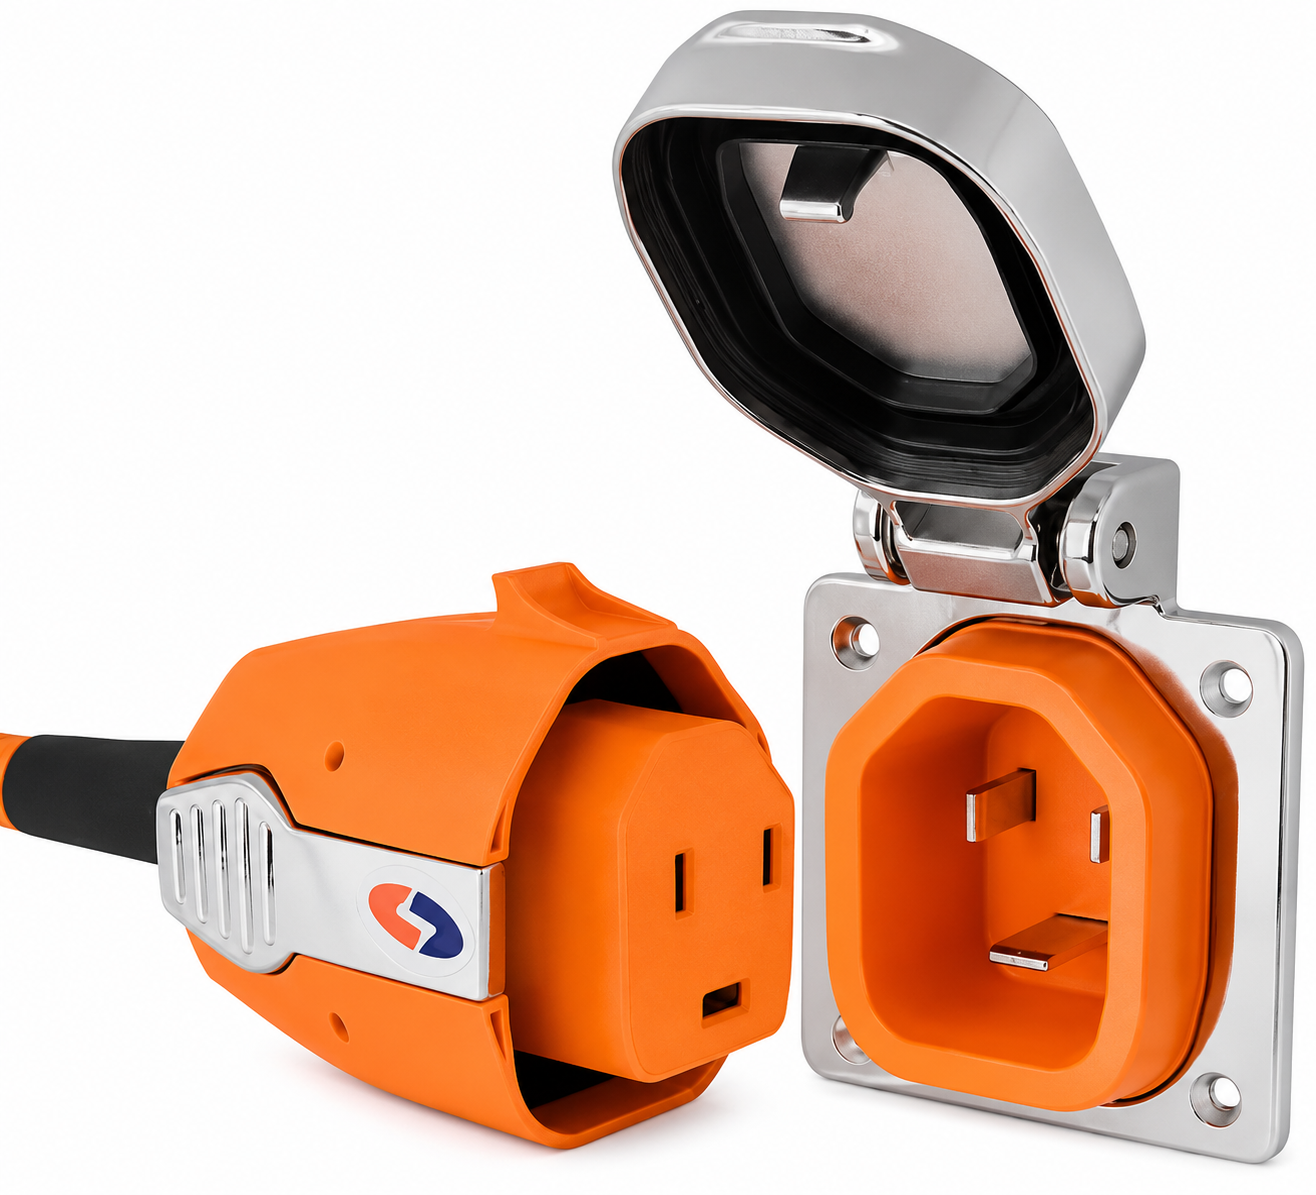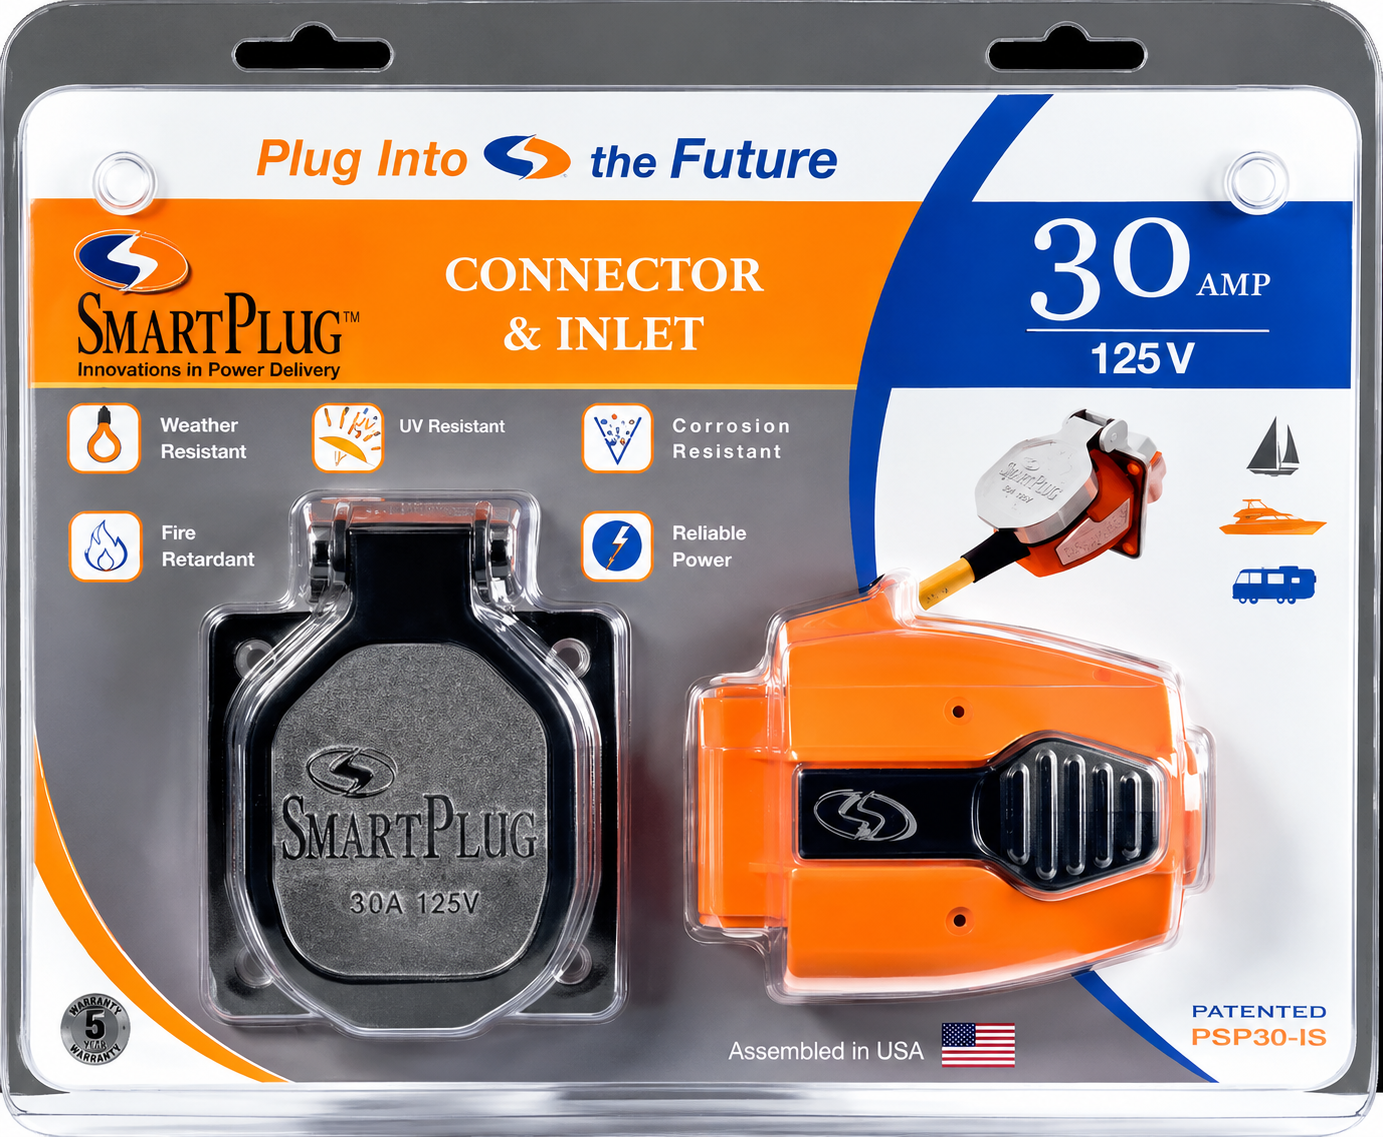




Installation Guide
Wiring Diagrams library
One spec, cross-referenced across every product line — instead of repeated per catalog.
Retrofit In 4 Steps
Keep the customer’s existing cable swap only the plug head. No new cordset required.
01
Cut Off Plug Head
Remove the old twist-type plug head, leaving the existing cable intact.
02
Strip & Prepare Wire
Strip conductors to length and prep for the SmartPlug terminal block.
03
Attach Wires To Plug Head
Land each conductor on the SmartPlug head per the wiring diagram for the amperage in use.
04
Assemble, Gasket & Go
Seat the gasket, close the housing, and the cordset is ready for service.
Compatible with all SmartPlug amperages — 16A/32A Euro and 30A/50A US.